# Vite
安装,创建新项目
yarn create vite-app <project-name>
# 初次启动
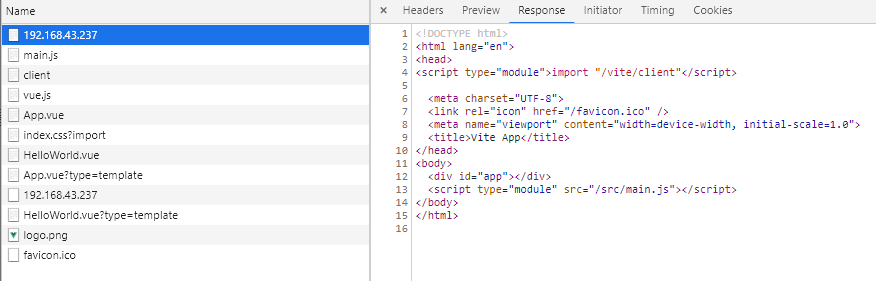
# main.js 路径改写
import { createApp } from "/@modules/vue.js";
import App from "/src/App.vue";
import "/src/index.css?import";

createApp(App).mount("#app");
# 为什么需要@moudules
vite 内部启动一个 koa 服务,而 ES Modules 是静态分析编译,无法读取到 node_modules 里的文件。
另一方面,把文件路径都写进同一个@modules 中,类似面向切片编程,可以从中再进行其他操作而不影响其他部分资源,比如后续可加入 alias 等其他配置。
通过 koa middleware 正则匹配上带有@modules的资源,再通过 require('XXX')获取到导出资源并返给浏览器。
# css update 函数

import { updateStyle } from "/vite/client";
const css =
  "#app {\n  font-family: Avenir, Helvetica, Arial, sans-serif;\n  -webkit-font-smoothing: antialiased;\n  -moz-osx-font-smoothing: grayscale;\n  text-align: center;\n  color: #2c3e50;\n  margin-top: 60px;\n}\n";
updateStyle('"2418ba23"', css);
export default css;
# 热更新
vite 的热更新主要有四步:
- 通过 watcher 监听文件改动;
- 通过 server 端编译资源,并推送新资源信息给 client ;
- 需要框架支持组件 rerender/reload ;
- client 收到资源信息,执行框架 rerender 逻辑。
在 client 端,Websocket 监听了一些更新的消息类型,然后分别处理:
- vue-reload —— vue 组件更新:通过 import 导入新的 vue 组件,然后执行
HMRRuntime.reload - vue-rerender —— vue template 更新:通过 import 导入新的 template ,然后执行
HMRRuntime.rerender - vue-style-update —— vue style 更新:直接插入新的 stylesheet
- style-update —— css 更新:document 插入新的 stylesheet
- style-remove —— css 移除:document 删除 stylesheet
- js-update —— js 更新:直接执行
- full-reload —— 页面 roload:使用
window.reload刷新页面
在 server 端,通过 watcher 监听页面改动,根据文件类型判断是 js Reload 还是 vue Reload。通过解析器拿到当前文件内容,并与缓存里的上一次解析结果进行比较,如果发生改变则执行相应的 render。
# .vue 文件
#HelloWorld.vue?type=template
import { toDisplayString as _toDisplayString, createVNode as _createVNode, createTextVNode as _createTextVNode, Fragment as _Fragment, openBlock as _openBlock, createBlock as _createBlock } from "/@modules/vue.js"

const _hoisted_1 = /*#__PURE__*/_createVNode("p", null, [
  /*#__PURE__*/_createTextVNode("Edit "),
  /*#__PURE__*/_createVNode("code", null, "components/HelloWorld.vue"),
  /*#__PURE__*/_createTextVNode(" to test hot module replacement.")
], -1 /* HOISTED */)

export function render(_ctx, _cache, $props, $setup, $data, $options) {
  return (_openBlock(), _createBlock(_Fragment, null, [
    _createVNode("h1", null, _toDisplayString($props.msg), 1 /* TEXT */),
    _createVNode("button", {
      onClick: _cache[1] || (_cache[1] = $event => ($data.count++))
    }, "count is: " + _toDisplayString($data.count), 1 /* TEXT */),
    _hoisted_1
  ], 64 /* STABLE_FRAGMENT */))
}
### HelloWorld.vue
import HelloWorld from '/src/components/HelloWorld.vue'

const __script = {
  name: 'App',
  components: {
    HelloWorld
  }
}

import { render as __render } from "/src/App.vue?type=template"
__script.render = __render
__script.__hmrId = "/src/App.vue"
__script.__file = "D:\\study\\github\\待删除\\myvit\\src\\App.vue"
export default __script
type 为空时表示处理
script标签,使用compileSFCMain方法返回js内容type 为
template时表示处理template标签,使用compileSFCTemplate方法返回render方法type 为
styles 时表示处理style标签,使用compileSFCStyle方法返回css文件内容
这里就是通过引入 vue 不同的编译时函数进行编译